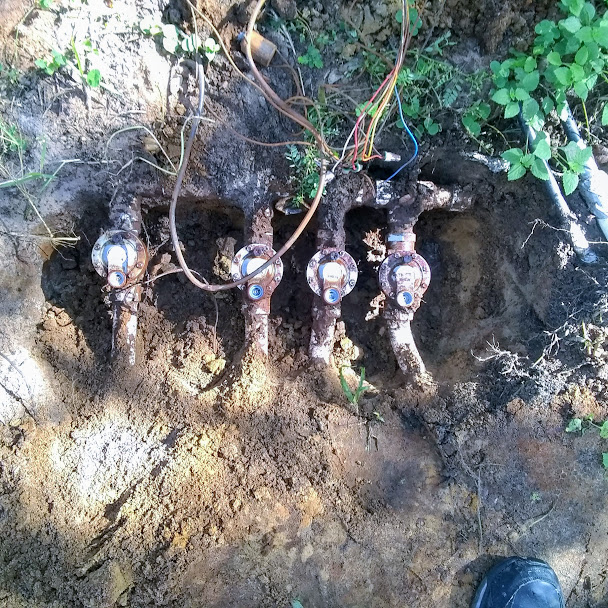
Sprinkler Valve Repair, there are several reasons for a sprinkler valve repair or replacement. In this step-by-step guide I’m going to go over why a sprinkler valve goes bad and how to repair. In the picture below you will see four lawn sprinkler valves.

How to replace sprinkler valve diaphragm
The first thing you want to do is shut off the main water supply. Most sprinkler systems have a shut off valve. If you are connected to the city water main supply you should have a P.V.B valve or a ball valve and dual check valve.
The reason for the P.V.B or the dual check and ball valve is to prevent the sprinkler system water from going into the house drinking water.
If you look at the picture above you will see four Irritrol sprinkler valves. You will also see that the sprinkler valves are dug up properly. This is one of the most important steps.
You want to avoid getting any dirt or debris inside the sprinkler valve. This will help make sure that the sprinkler valve repair goes smoothly.
The second step is to remove all the screws. Be careful with this because there is a spring that’s inside the valve that you’re going to reuse.

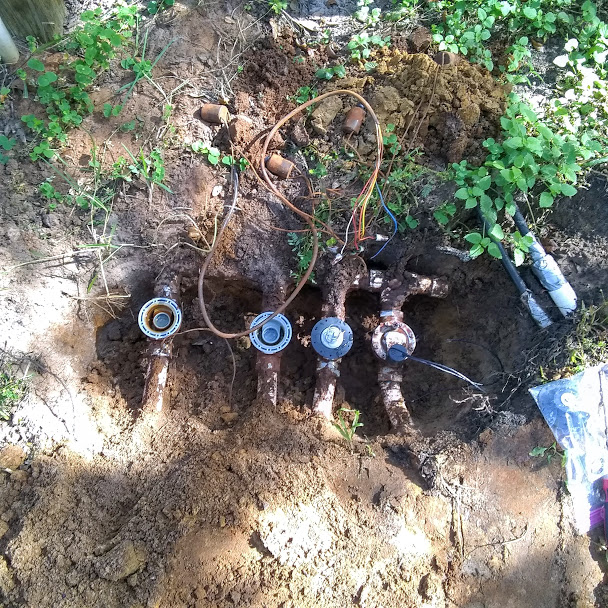
Look at the picture above you can see we have removed the insides of the lawn sprinkler valve.
Sometimes the tops of the valves can be hard to get off.
Take a screw driver and pry the sprinkler valve open gently. It’s very important you take your time.
If you break the sprinkler pipes this simple job just turned hard and costly.
The next step is extremely important. Once you have the top of the sprinkler valve you’re rebuilding removed flush the valve.
You can do this by turning the water supply on gently. Don’t turn it on all the way if so you will have a mess.
Slowly turn the water on just enough to flush sprinkler valve.
Sprinkler Valve Repair
Next step you take your new sprinkler diaphragm and place it in the valve. In the example above we are replacing an irritrol one inch valve. With this certain valve you have to make sure all the holes line up perfect.
Once you have everything lined up perfect you simply put the valve back together exactly how you took it apart.
I Highly recommend when doing a sprinkler valve repair replace the top and the spring and diaphragm.
It’s not a must but since you already have the sprinkler valve apart you might as well replace everything.

How do you remove a sprinkler valve solenoid
In the pictures above you can see that we have removed the sprinkler valve solenoid. This is simple you just gently unscrew the sprinkler valve solenoid.
If the solenoid is still good just screw it back into the sprinkler valve you just rebuilt.
If you have to replace it just make sure you wire it back up the same way with the same color codes. You have two wires one goes to the common which is usually white sometimes green.
The other wire connect. to the sprinkler zone
How long do sprinkler solenoids last?
The sprinkler solenoid rarely ever go bad. When they do it will cause you’re timer to malfunction. Some timers a red light will come on warning you that a solenoid is bad.
In other cases it will blow the fuse in your sprinkler timer.